
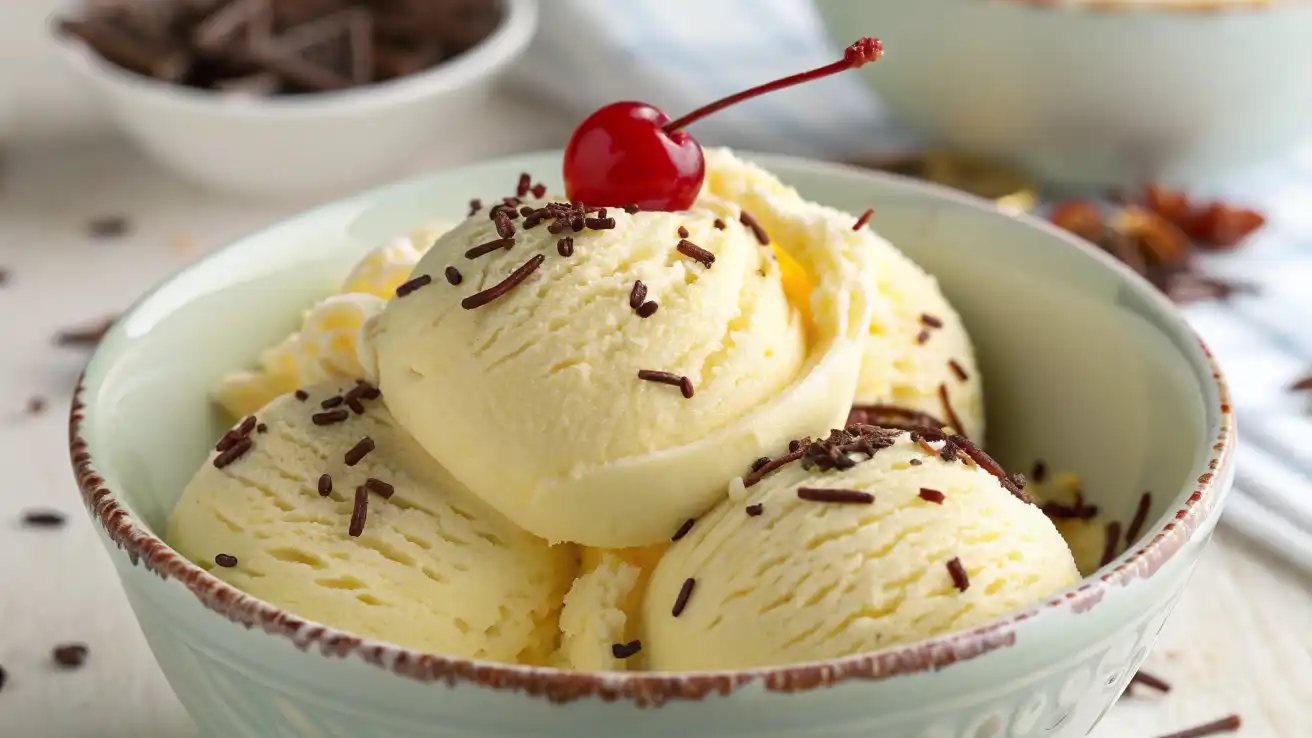
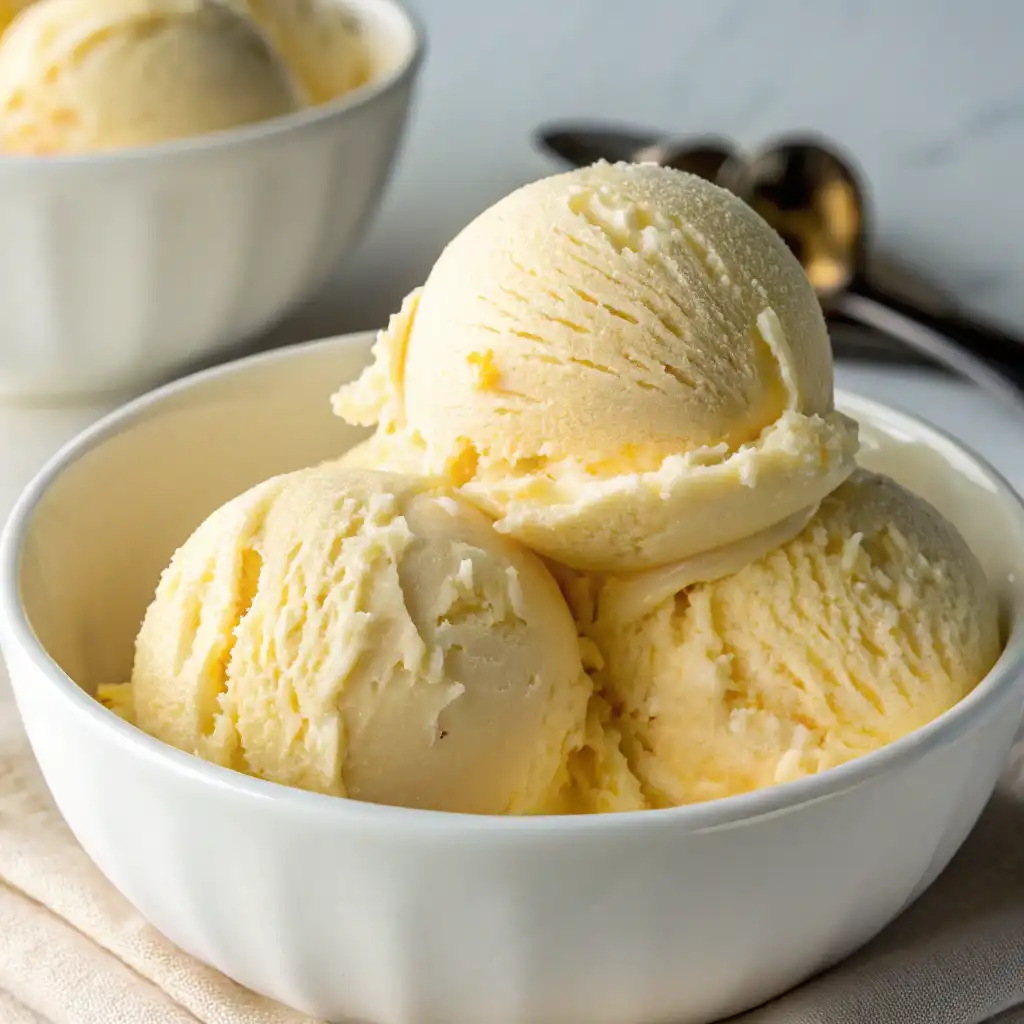
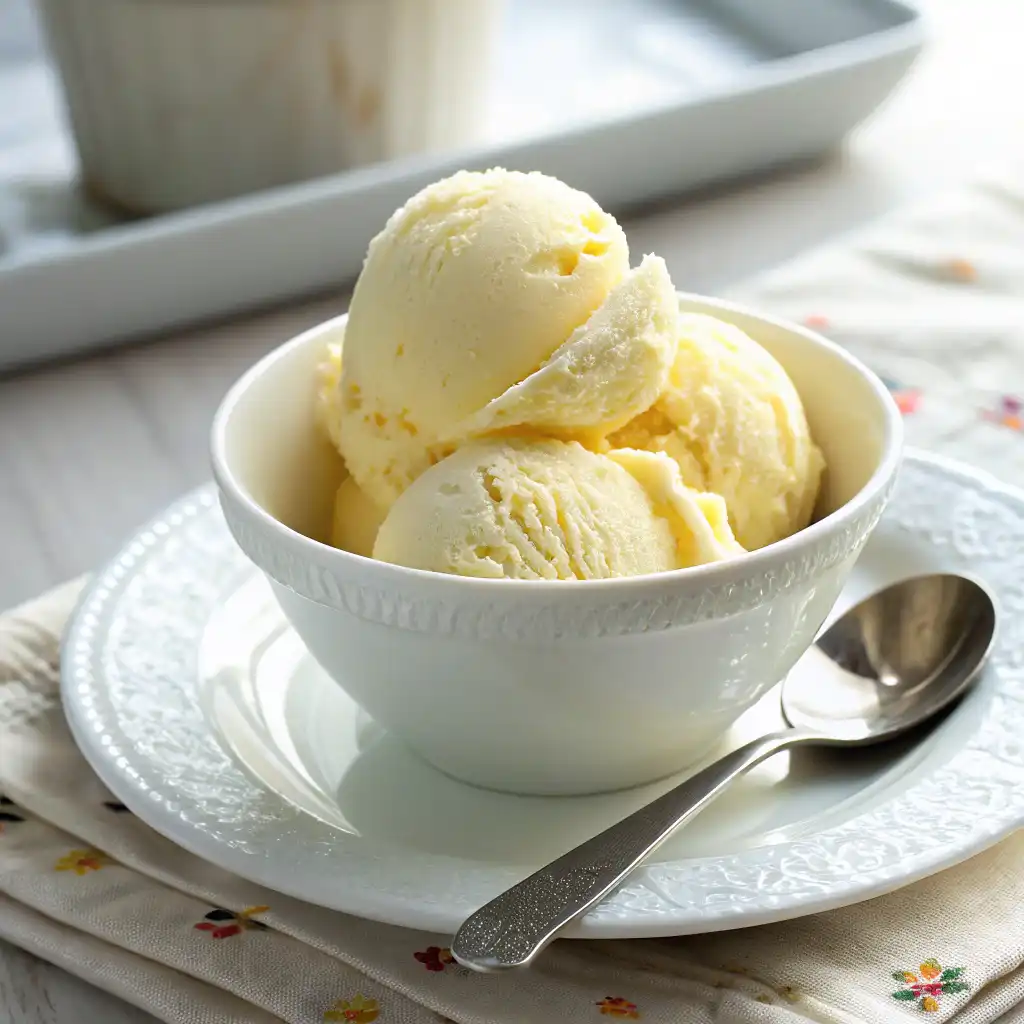
If you’re a fan of rich, creamy ice cream, then you’ll love this French vanilla ice cream recipe. Unlike regular vanilla ice cream, French vanilla boasts a smooth, custard-like texture and a deep, aromatic flavor, thanks to the infusion of real vanilla beans. Making it at home is easier than you might think, and with just a few simple ingredients like heavy cream, egg yolks, and sugar, you can create a decadent treat that rivals any store-bought version. Whether you’re using an ice cream maker or making it by hand, this homemade French vanilla ice cream will quickly become your go-to dessert for any occasion.
What You Will Find:
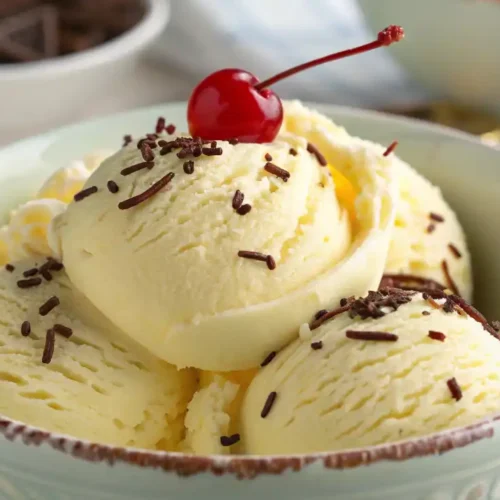
What Makes French Vanilla Ice Cream Different?
The Role of Vanilla Beans in the Flavor
Vanilla beans play a crucial role in giving French vanilla ice cream its signature, rich, and complex flavor. Unlike vanilla extract, which is often used in many store-bought ice cream recipes, real vanilla beans provide a natural, deep flavor that is unmatched. The beans contain tiny, flavorful seeds that add a speckled appearance and enhance the ice cream’s flavor profile.
When you scrape the seeds from the vanilla bean pod and combine them with your custard base, the seeds release a rich, aromatic vanilla essence. This creates a truly authentic vanilla flavor that elevates the taste of the ice cream. The presence of vanilla bean specks throughout the ice cream also adds an artisanal touch that signals quality and craftsmanship, making it feel homemade and indulgent.
Difference Between Vanilla and French Vanilla Ice Cream
While both vanilla and French vanilla ice cream share the same main flavor, the two have distinct differences. The key distinction lies in the method of preparation and the ingredients used.
- Vanilla ice cream typically uses vanilla extract or artificial vanilla flavoring and is made with a simple mixture of milk, cream, sugar, and stabilizers. It tends to have a cleaner, more straightforward vanilla flavor.
- French vanilla ice cream, on the other hand, uses a custard-based recipe that incorporates egg yolks. This gives French vanilla its signature richness and smooth texture. The inclusion of egg yolks provides a velvety consistency and a more complex, indulgent vanilla flavor, which is why it’s often considered more luxurious and flavorful than regular vanilla ice cream.
Custard-Based vs. Non-Custard-Based Recipes
The main difference between custard-based and non-custard-based ice cream recipes is the inclusion of egg yolks in custard-based recipes.
- Custard-Based Recipes (as seen in French vanilla ice cream):
- In a custard-based ice cream, egg yolks are combined with milk, sugar, and cream to form a rich, silky custard. This method requires cooking the mixture gently to create a smooth, thick base.
- The inclusion of egg yolks not only contributes to the texture by making the ice cream smoother but also adds depth to the flavor. The egg yolks give French vanilla ice cream its creamy, velvety mouthfeel and help prevent the formation of ice crystals, which results in a more luxurious, rich ice cream.
- The egg-based custard method is what differentiates French vanilla from regular vanilla ice cream, contributing to its distinctive flavor and creamy consistency.
- Non-Custard-Based Recipes:
- In contrast, non-custard-based ice cream recipes (often found in regular vanilla ice cream) simply combine cream, milk, sugar, and vanilla extract or other flavorings. These recipes are typically quicker to prepare since there is no cooking involved, but the texture tends to be lighter and airier compared to the richer custard-based option.
- Without the egg yolks, the ice cream may lack the dense, creamy consistency that French vanilla provides. The flavor also tends to be simpler, relying more on the vanilla extract or artificial flavoring used.
Essential Ingredients for French Vanilla Ice Cream
Vanilla Beans and Vanilla Extract
The quality of your vanilla beans or vanilla extract is crucial to achieving the best flavor in French vanilla ice cream.
- Vanilla Beans: Real vanilla beans provide a rich, deep flavor with aromatic vanilla seeds that enhance the ice cream’s taste and texture. These beans release vanillin, the compound that gives vanilla its signature flavor, resulting in a warm, complex essence.
- Vanilla Extract: While vanilla extract is convenient, it doesn’t offer the same depth as real vanilla beans. Pure vanilla extract can still deliver a great flavor but lacks the richness that the whole beans bring.
For the best result, real vanilla beans or pure vanilla extract without additives should be used.
Heavy Cream and Whole Milk
The combination of heavy cream and whole milk is key to creating a creamy, smooth texture in French vanilla ice cream.
- Heavy Cream: With a high-fat content (36-40%), heavy cream provides richness and helps create a silky smooth texture. It prevents ice crystals from forming, ensuring the ice cream remains creamy.
- Whole Milk: Whole milk adds a lighter texture while still contributing to the creaminess. The fat in whole milk balances the cream, ensuring the ice cream is rich without being too heavy.
Together, these full-fat dairy products deliver the perfect creamy consistency that defines French vanilla ice cream.
Egg Yolks and Sugar
The egg yolks and sugar are essential for creating the rich, smooth custard base of French vanilla ice cream.
- Egg Yolks: Egg yolks act as emulsifiers, helping the fat and water blend smoothly. They thicken the base, adding a velvety texture and a golden hue to the ice cream. The richness of egg yolks is key to French vanilla’s luxurious feel.
- Sugar: Sugar not only sweetens the ice cream but also helps lower its freezing point, preventing ice crystals and keeping the ice cream scoopable. It balances the richness from the egg yolks and cream, creating a smooth, harmonious flavor.
Together, egg yolks and sugar ensure a smooth, creamy texture and a rich, indulgent taste in French vanilla ice cream.
Step-by-Step Guide to Making French Vanilla Ice Cream

Prepare the Custard Base
To make French vanilla ice cream, you first need to prepare a custard base, which is the foundation of the smooth and creamy texture.
- Heat the Milk and Cream: Begin by combining whole milk and heavy cream in a saucepan. Gently heat the mixture over medium heat, ensuring it doesn’t boil. This step helps dissolve the sugar and infuses the mixture with flavor.
- Whisk the Egg Yolks and Sugar: In a separate bowl, whisk together egg yolks and sugar until the mixture is smooth and pale. This helps create a smooth custard base once combined with the milk mixture.
- Temper the Eggs: To prevent the egg yolks from curdling, slowly add a little bit of the heated milk and cream mixture to the egg yolks while whisking constantly. This step, known as tempering, gradually brings the eggs up to temperature.
- Combine the Mixtures: Once tempered, pour the egg yolk mixture back into the saucepan with the milk and cream. Continue to cook over low heat, stirring constantly, until the mixture thickens enough to coat the back of a spoon.
- Strain the Custard: After cooking, strain the custard through a fine-mesh sieve to remove any cooked egg bits. This ensures the custard is smooth and silky.
How to Make the Egg-Based Custard for the Ice Cream
Making an egg-based custard is the hallmark of French vanilla ice cream. Here’s how it works:
- Cook the Custard: The egg yolks and sugar create a thickened, velvety custard when combined with the heated milk and cream. This base is essential for French vanilla ice cream, as the egg yolks contribute to the rich flavor and texture.
- Monitor the Temperature: Ensure the custard cooks at a low temperature (about 170-175°F or 77-80°C). If the custard gets too hot, the eggs may curdle, ruining the smooth consistency.
- Cool the Custard: After cooking, let the custard cool to room temperature. This will help develop the flavors before it goes into the ice cream maker.
Churning the Ice Cream
Churning the ice cream is what gives it its smooth, creamy texture. Here’s how you can do it:
- Ice Cream Maker: Once the custard has cooled completely, pour it into an ice cream maker. The churning process incorporates air into the mixture, helping it achieve a light, fluffy texture while freezing.
- Churning Process: Follow the manufacturer’s instructions for your ice cream maker, typically churning the mixture for 20-30 minutes. The ice cream should begin to thicken and resemble soft-serve consistency.
- Consistency Check: As the ice cream churns, periodically check the texture. The ice cream should become smooth and thick. When it reaches the consistency of soft-serve, it’s ready for the next step.
Freezing the Ice Cream
After churning, the ice cream will still be too soft to scoop, so it needs to be frozen to achieve the perfect texture:
- Transfer to a Container: Spoon the churned ice cream into a freezer-safe container, smoothing the top to eliminate any air pockets.
- Freeze the Ice Cream: Cover the container tightly with plastic wrap or a lid, and freeze for at least 4 hours, or until the ice cream is firm enough to scoop.
Tips for Ensuring the Ice Cream is Creamy After Freezing
To maintain that creamy texture after freezing, follow these tips:
- Avoid Freezing Too Quickly: Make sure your ice cream has been churned properly before freezing. Rapid freezing can lead to the formation of large ice crystals, which makes the ice cream less creamy. A slow freeze helps maintain a smooth consistency.
- Use Full-Fat Dairy: The combination of heavy cream and whole milk is essential for a rich texture. Full-fat dairy helps prevent the formation of too many ice crystals, resulting in a creamy, scoopable ice cream.
- Stir During Freezing: If you notice your ice cream becoming too icy, you can stir it every 30 minutes for the first few hours of freezing. This will help break up any larger ice crystals that form and maintain a smooth texture.
- Keep It Covered: To avoid freezer burn, ensure the surface of your ice cream is covered with plastic wrap or parchment paper before sealing the container with a lid. This keeps the ice cream fresh and creamy.
Tips for Perfecting Your French Vanilla Ice Cream Recipe
How to Avoid Ice Crystals
The presence of ice crystals can make your ice cream gritty and unpleasant, but with the right techniques, you can ensure a smooth texture.
- Churn the Ice Cream Properly: The most important step in preventing ice crystals is churning. As the ice cream churns, it incorporates air, which helps prevent large ice crystals from forming. The slower the freezing process, the better the result.
- Use Full-Fat Dairy: Heavy cream and whole milk help create a rich, creamy texture. The fat in these ingredients reduces the chances of ice crystals forming, keeping the ice cream smooth.
- Temper the Egg Yolks: When making an egg-based custard, ensure that you temper the egg yolks slowly and cook the custard on low heat. This process helps break down the proteins in the eggs, making the custard smoother and reducing the formation of ice crystals.
- Add a Stabilizer: Adding a small amount of cornstarch or gelatin can help improve texture by reducing the likelihood of ice crystals forming. These ingredients help to trap water molecules and prevent them from freezing into large crystals.
Techniques to Prevent Icy Texture and Ensure Smoothness
To guarantee a creamy and smooth ice cream texture, here are additional tips:
- Use an Ice Cream Maker: Ice cream makers help churn the ice cream while it freezes, which prevents large ice crystals from forming and keeps the texture smooth. For the best result, ensure that your machine’s bowl is pre-frozen according to the manufacturer’s instructions.
- Cool the Custard Properly: Once the custard is made, let it cool down to room temperature before placing it in the ice cream maker. If it’s too warm when added to the machine, it may not freeze evenly and could result in an icy texture.
- Freeze in Smaller Batches: Freezing the ice cream in smaller portions can help it freeze more evenly and avoid large ice crystals. Allowing each batch to freeze completely before adding another can help maintain smoothness.
- Store Properly: When storing homemade ice cream, ensure that the container is tightly sealed. Plastic wrap or parchment paper placed directly on the surface of the ice cream before sealing the container can help reduce air exposure, which may contribute to ice crystals forming.
Adding Mix-ins or Flavor Variations
Add-ins can elevate the flavor and texture of your ice cream. Here’s how you can incorporate different ingredients:
- Chocolate Chips or Chunks: Add chocolate chips or chunks in the last few minutes of churning. This ensures they are evenly distributed throughout the ice cream without getting too hard from the freezing process.
- Fruit: Fresh or frozen fruit can add a burst of flavor to your French vanilla ice cream. For better texture, purée soft fruits like strawberries or mangoes and stir them into the ice cream before freezing. Dried fruit or fruit preserves can be added during the final churning stage for texture and flavor.
- Nuts and Seeds: Chopped nuts like almonds, pistachios, or hazelnuts work well in French vanilla ice cream, adding a crunch. Make sure they are added toward the end of the churning process to prevent them from sinking to the bottom.
- Swirls of Syrups or Sauces: Swirl in sauces like caramel, chocolate, or strawberry syrup after churning but before freezing. This will create beautiful ribbons of flavor throughout the ice cream.
Storage Tips for Homemade Ice Cream
Proper storage helps preserve your homemade ice cream’s freshness and texture. Here are some key tips:
- Use an Airtight Container: When storing your ice cream, always use a tight-sealing, freezer-safe container to prevent air from getting inside and affecting the texture. A tightly sealed lid or plastic wrap will keep your ice cream fresh for longer.
- Cover the Surface: To prevent freezer burn and ice crystals from forming, cover the surface of the ice cream with plastic wrap or parchment paper before sealing the container. This prevents air from getting in contact with the ice cream.
- Store at the Right Temperature: Keep your ice cream stored at 0°F (-18°C) or colder. Storing it at a higher temperature can cause the ice cream to soften and refreeze, leading to an icy texture.
- Serve at the Right Time: Allow the ice cream to sit out for a few minutes before scooping. Homemade ice cream tends to freeze harder than store-bought, so letting it soften a bit helps make scooping easier and preserves the smoothness.
Final Thoughts
Making French vanilla ice cream at home is a rewarding experience, offering a rich, creamy treat with a flavor that store-bought options can’t match. By following the steps, such as creating a smooth custard base, churning properly, and using high-quality ingredients like vanilla beans and full-fat dairy, you can ensure a perfect batch every time.
Feel free to experiment with mix-ins like chocolate chips, fruit, or nuts to personalize your flavor. Proper storage is key to maintaining freshness, so store your ice cream in airtight containers.
With these techniques, you’ll create delicious, creamy ice cream that’s sure to impress. For a perfect pairing, try serving it with a Chocolate Trifle for an unforgettable treat.
FAQs About French Vanilla Ice Cream Recipe
1. What’s the difference between French vanilla and regular vanilla ice cream?
French vanilla ice cream uses an egg-based custard base, which gives it a richer and creamier texture compared to regular vanilla ice cream, which is typically made without eggs.
2. Can I make French vanilla ice cream without an ice cream maker?
Yes! You can make French vanilla ice cream without an ice cream maker by using a no-churn method. Simply freeze the custard mixture and stir it every 30 minutes until it reaches the desired consistency, or use a hand mixer to incorporate air into the mixture.
3. How can I make my ice cream creamier?
To achieve creamier ice cream, use full-fat cream and whole milk, which provide the necessary fat content to prevent ice crystals from forming. Additionally, incorporating egg yolks in the custard base helps enhance the creaminess.
4. What can I add to French vanilla ice cream for extra flavor?
You can add ingredients like chocolate chips, fresh or dried fruit, crushed cookies, or caramel swirl during the final minutes of churning to add extra texture and flavor to your ice cream.
5. How long can I store homemade French vanilla ice cream?
Homemade ice cream can be stored in an airtight container in the freezer for up to 2-3 weeks. For best results, place plastic wrap or parchment paper directly on the surface of the ice cream to prevent freezer burn.
6. Why is my homemade ice cream icy and not creamy?
If your ice cream turns out icy, it may be due to insufficient churning, not enough fat content, or freezing too quickly. Ensure you’re using full-fat dairy, proper churning techniques, and temper the eggs properly for a smoother, creamier texture.
French Vanilla Ice Cream Recipe
Ingredients
- 2 cups heavy cream
- 1 cup whole milk
- 3/4 cup granulated sugar
- 1 vanilla bean or 2 teaspoons vanilla extract
- 5 large egg yolks
- Pinch of salt
Instructions
Prepare the Vanilla Bean:
- Split the vanilla bean in half lengthwise and scrape out the seeds. Set aside the seeds and the pod.
Heat the Dairy:
- In a medium saucepan, combine the heavy cream, whole milk, and half of the sugar (about 1/4 cup).
- Add the vanilla bean seeds and pod (or vanilla extract if using) to the mixture.
- Heat over medium heat, stirring occasionally, until the mixture is hot but not boiling. Remove from heat once it’s steaming and just starting to simmer.
Prepare the Egg Yolks:
- In a separate bowl, whisk the egg yolks with the remaining sugar (about 1/2 cup) and a pinch of salt until the mixture is smooth and pale.
Temper the Eggs:
- Slowly pour a small amount of the hot cream mixture into the egg yolks while whisking constantly to prevent curdling.
- Gradually add more of the hot mixture into the yolks, continuing to whisk. This step helps temper the eggs, bringing them to a similar temperature as the hot cream.
Combine and Cook the Custard:
- Once the egg yolks are tempered, pour the entire mixture back into the saucepan with the remaining hot cream.
- Cook over low heat, stirring constantly, until the custard thickens and coats the back of a spoon (about 5-7 minutes). Be careful not to let it boil.
Strain the Custard:
- Remove the vanilla pod and strain the custard through a fine mesh sieve into a clean bowl to remove any curdled bits and ensure a smooth texture.
Chill the Custard:
- Allow the custard to cool to room temperature, then cover it and place it in the refrigerator to chill for at least 2-3 hours, or overnight for the best results.
Churn the Ice Cream:
- Once the custard is fully chilled, pour it into an ice cream maker.
- Follow the manufacturer’s instructions for churning, usually about 20-25 minutes, until it reaches a soft-serve consistency.
Freeze the Ice Cream:
- Transfer the churned ice cream to an airtight container and freeze for at least 4 hours, or overnight, until firm and scoopable.
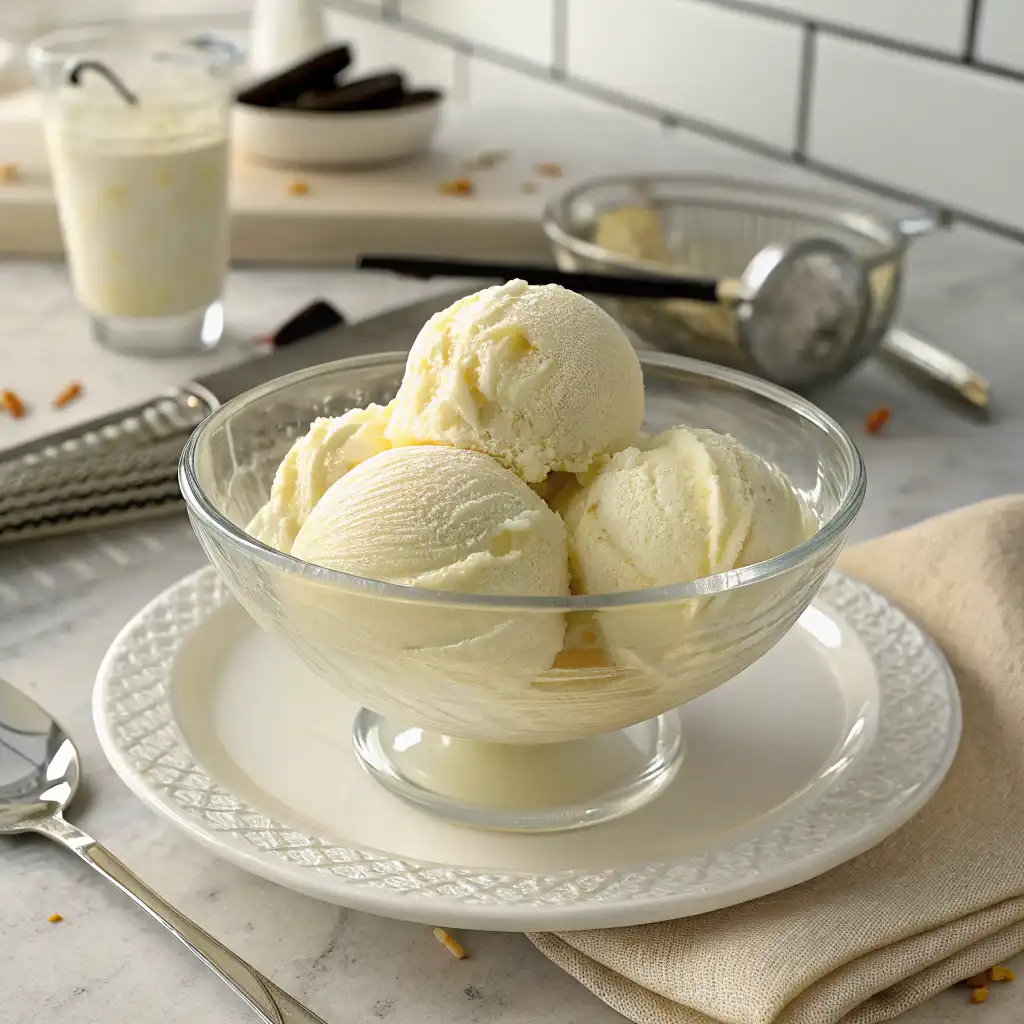
Serve and Enjoy:
- Scoop and serve the ice cream in bowls or cones, and enjoy your homemade French vanilla ice cream!
Notes
- Calories: 290 kcal
- Fat: 20g
- Saturated Fat: 12g
- Trans Fat: 0g
- Carbohydrates: 24g
- Dietary Fiber: 0g
- Sugars: 22g
- Protein: 4g
- Cholesterol: 120mg
- Sodium: 40mg
- Potassium: 130mg
- Calcium: 70mg
- Iron: 0.2mg